Showing posts with label mint. Show all posts

Wednesday, April 17, 2013

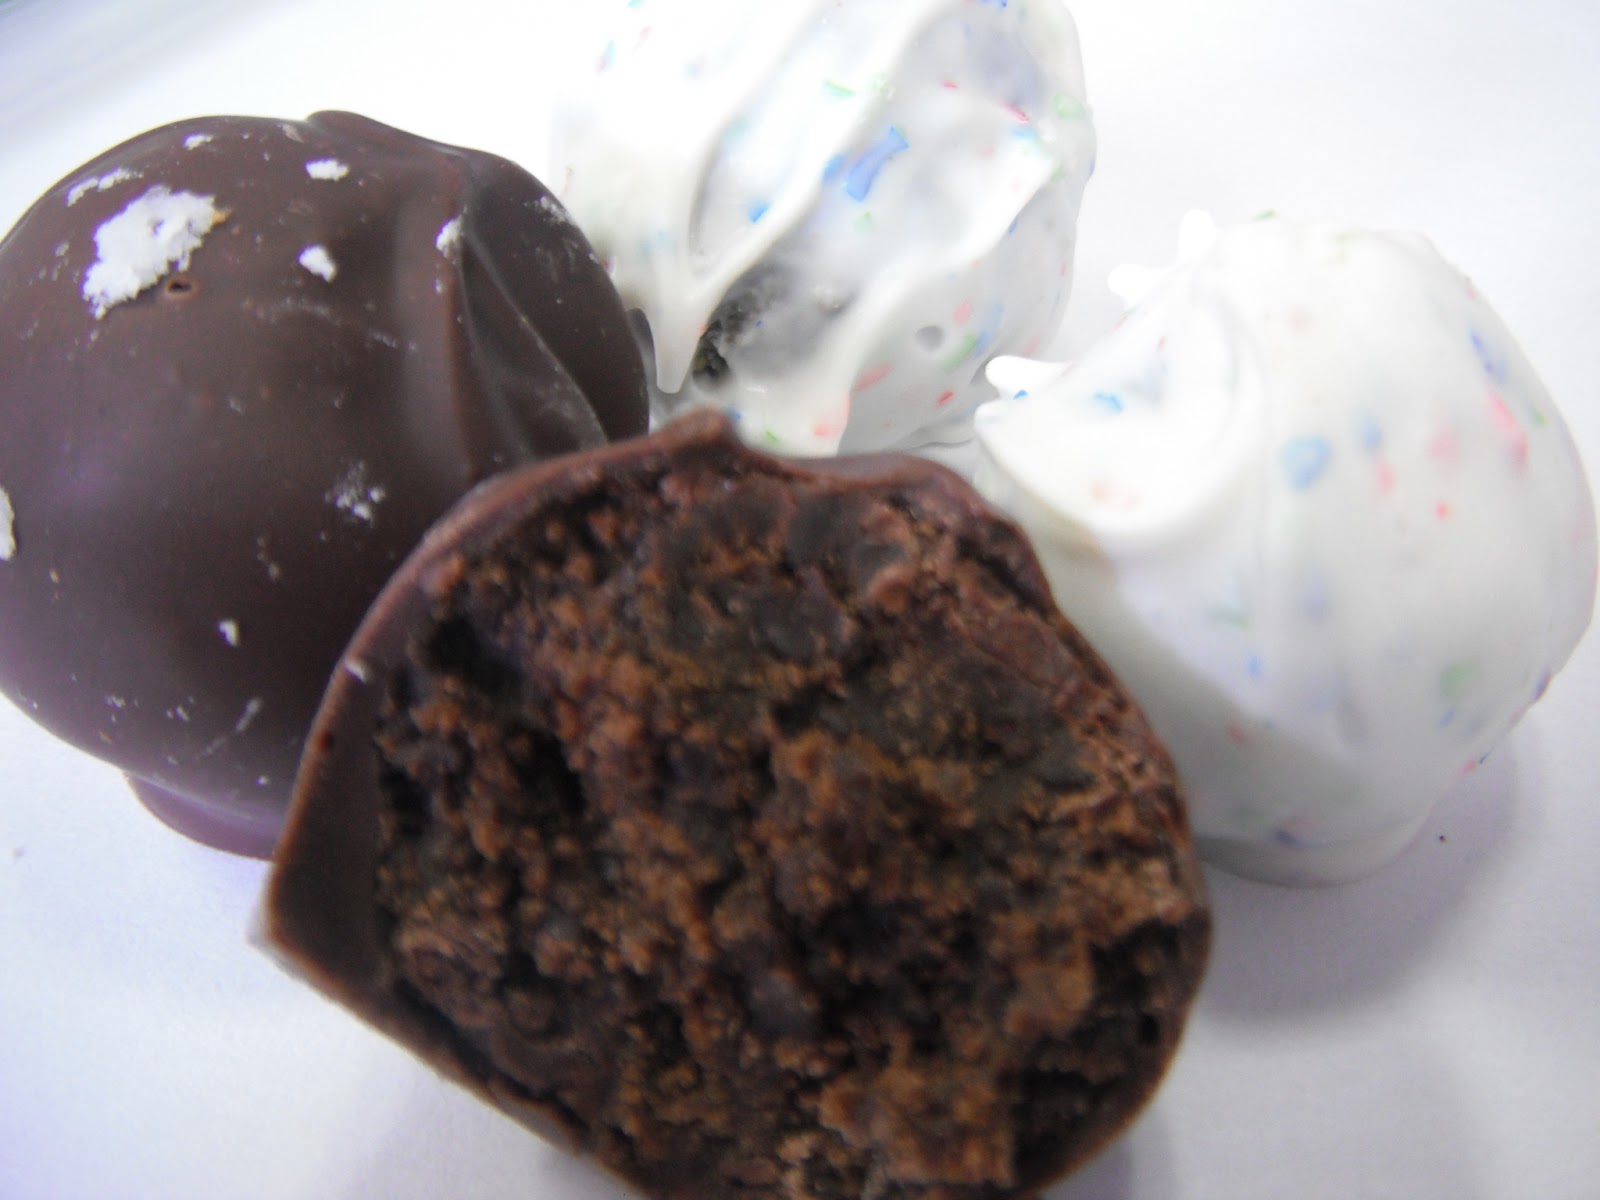
No-Bake Thin Mint Truffles

Remember how back in January I talked about Joe buying a ton of Thin Mint Girl Scout cookies?  We still have some, and he was kind enough to "allow" me to have a half a box with which I could do whatever I pleased.  I wanted to eat them, but I had a ton of recipe ideas involving Thin Mints/other cookies, and thought it would be a good idea to try one of them out.

These no-bake truffles are amazing.  They're super easy to make, take barely any time at all AND only use three ingredients! Obviously, I made mine with Thin Mints, but if you don't have them, you can easily substitute them with Keebler Grasshoppers (if you want minty ones), but I'm also thinking about trying them with Oreos and chocolate chip cookies.

My recipe made about 20, but since I was playing around, I didn't really want to make too many and then have them not be so tasty.  If you need to make more, you can easily double, triple, etc. the recipe.  I originally tried combining everything with a wooden spoon, but you'll want to skip that and just use a fork.  Trust me, it will make your life a million times better.

Also, the amount of the melting chocolate is a guess.  You know those little baker's dipping chocolate things that come in the little microwave container? I had about 1/4 of one of those left in the fridge from something else, plus I had bought a 10 oz. bag of Candy Melts at Michaels that I used about half of.  If you have leftover chocolate or candy coating that's already been melted, you can stick it in the fridge in an airtight container for later use.  Most of the packaging recommends storing it for up to a week or two, but I've used it older than that and never had any issues. 

What's the last few-ingredient recipe you made that came out better than you expected?

No-Bake Thin Mint Truffles
To print this recipe, click here

Ingredients
1 roll (approx. 16 cookies) Thin Mints or Keebler Grasshoppers
2 Tbsp. brick cream cheese, softened
7 oz. dipping chocolate and/or candy coating

Line a baking sheet with wax or parchment paper and set aside.

Put the cookies into a ziplock bag and squeeze the air out.  Seal the bag.  Using a rolling pin, crush the cookies into fine crumbs (you don't want any big chunks).

In a bowl, combine the cookie crumbs and the cream cheese.  Using a fork, cut the cream cheese into the crumbs until the cream cheese disappears (no white spots!) and a thick dough forms.

Roll the dough into one-inch balls and place on the prepared baking sheet.  To keep mine uniform in size, I measure out a teaspoon-full of dough for each one.  Place the baking sheet in the fridge to set, about 30 minutes.

Melt chocolate or candy coating according to package directions.  Drop each truffle into the chocolate/candy coating, coating completely.  Use a fork to lift truffles out of the chocolate and drain the excess.  Place back onto prepared baking sheet.  Once all truffles are covered, place back into the fridge to set, about one hour.  Store in an airtight container in the refrigerator.

Wednesday, January 23, 2013

Thin Mint Scones

Remember how I mentioned that Joe went crazy and bought a ton of Girl Scout cookies?  He bought a full case (12 boxes!) of Thin Mints and then a few random boxes of things that I like to make sure I get some.  Thoughtful, right? LOL

So, one of the things he asked me to do was to find some recipes that I could use Thin Mints in.  I've been sitting on this recipe from King Arthur for a little while, and it seemed easy enough to modify to work with Thin Mints instead of mini chocolate chips.

Here's the thing.  I made these last Sunday and have been sitting on this post ever since.  The scones didn't really quite come out the way I wanted them to, so I've been hesitant to share them.  But, I've decided that if I'm going to share the amazing things, I've gotta share some of the "meh" ones, too.

Let me clarify: these scones are not disgusting.  In fact, they're pretty good.  I should know, since I've been eating them for breakfast every day.  The only thing is... I guess I didn't modify the recipe quite enough, since they're not really that minty or that chocolatey.  One thing I think that got messed up was letting Joe crush the cookies - I suspect the pieces were too small, so the flavor didn't translate.  I also probably should have used more cookies than I did, since the recipe is designed to work with actual chocolate chips.  I probably should also have subbed at least one of the two teaspoons of vanilla for peppermint extract to give it a little more minty flavor.

I definitely want to try these again, but I think I should first make them as called for.  That way, I have some kind of baseline to work off of and know what to change around.

At any rate, here's the recipe:

Thin Mint Scones
To print this recipe, click here


Modified from King Arthur

Ingredients
2 3/4 c. flour, plus about 1/4 cup for kneading
1/3 c. sugar
3/4 teaspoon salt
1/2 cup (1 stick) cold butter, cut into pats
1 roll (approx. 1 1/2 cups) Thin Mints or Keebler Grasshopper cookies, crushed
2 eggs
2 teaspoons vanilla
1/2 cup whole milk

Topping
1 egg, lightly beaten
1/4 c. sugar

In the bowl of a stand mixer fitted with the paddle attachment, combine dry ingredients and butter just until crumbly - some large chunks of butter will probably be unincorporated.

Stir in the crushed cookies. Add in the eggs, vanilla and milk.  Mix until all ingredients are combined and a dough forms.  You may want to switch to your dough hook attachment, but you don't have to.

Scrape the dough out onto a well-floured surface.  Pat or roll into a square that's about 8" and 3/4" thick.  Cut the square into 16 small squares.  Cut them again so you have about 30 smaller squares.  Mine were about 2" in size.

Transfer the squares onto a well greased cookie sheet.  The scones won't increase in size too much, so you should be able to crowd them and get them all on one large size cookie sheet.  Once they're all on the cookie sheet, put them into the freezer for about 30 minutes (longer is okay too).

Preheat the oven to 425°F.  Pull the scones from the freezer, brush each of them with the egg and then sprinkle them with sugar.  If you want them to have that really sugary look, use more sugar than you think is necessary - a lot of it will melt down while they're baking.

Bake until golden brown, about 15-20 minutes.

Yields approximately 30 scones.


 Do you see the box of Samoas in the background? :)

Overall, these were really good and with a few more modifications, I'd definitely make them again.

Have you ever made scones before? What kind do you like? How'd they come out? Tell me!